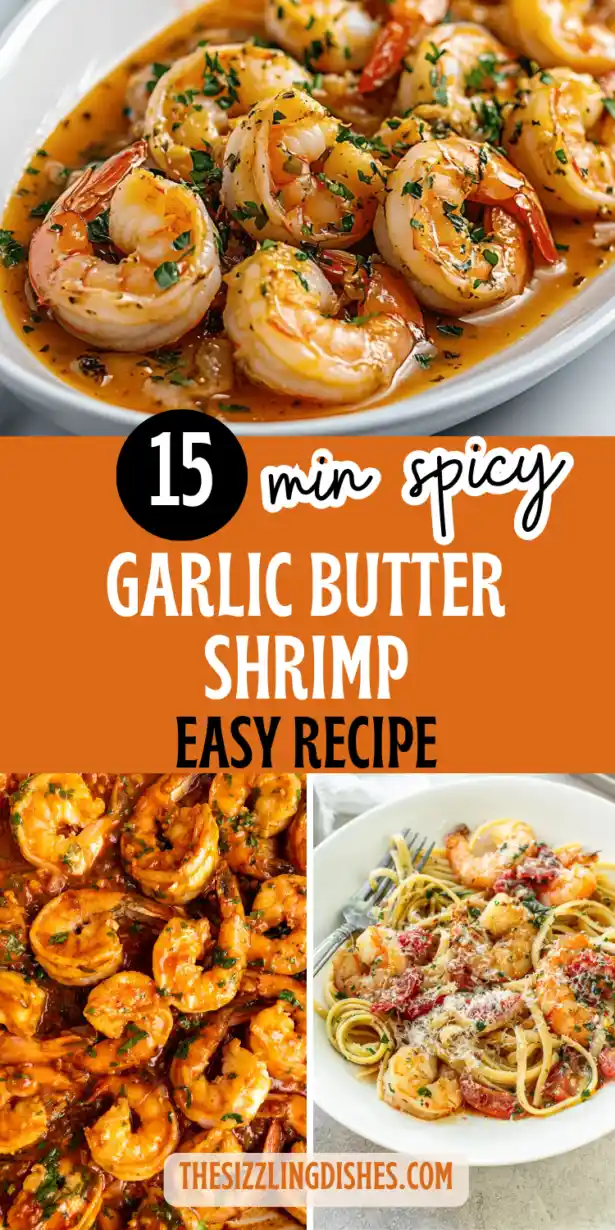
Spicy Honey Garlic Chicken (30-Minute One Pan)

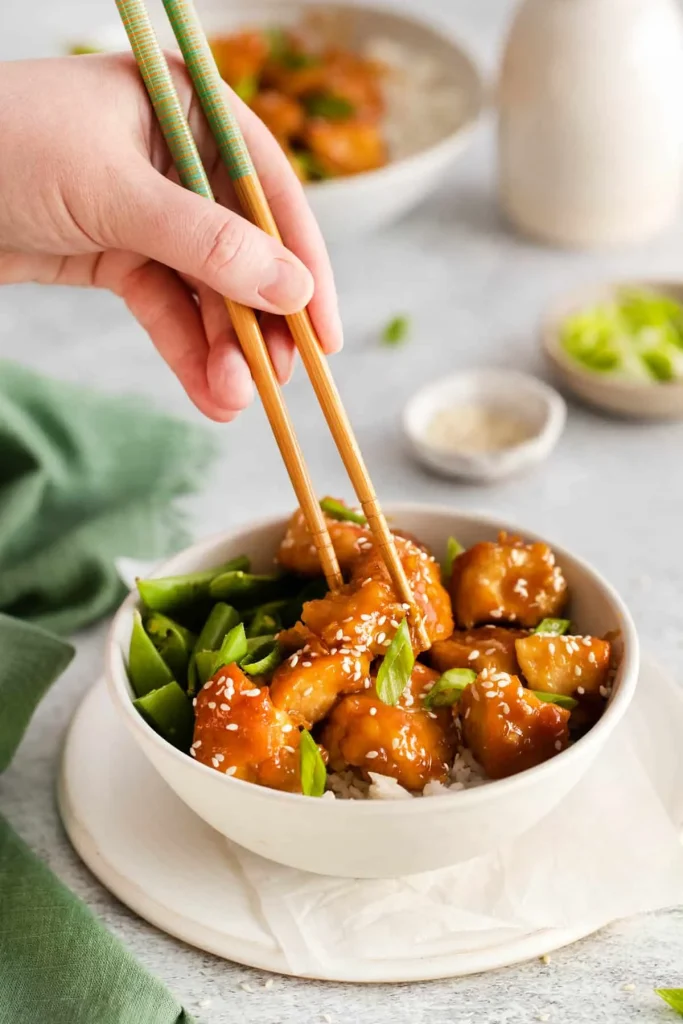
Picture this—golden, seared chicken thighs glistening under a sticky, dark amber glaze. The aroma of caramelized honey and sizzling garlic fills your kitchen. That first bite hits sweet, then savory, then a gentle warmth spreads across your tongue. This is Spicy Honey Garlic Chicken (30-Minute One Pan) , and it’s about to become your new weeknight obsession.
Busy evenings leave little time for elaborate cooking, but that doesn’t mean you should settle for bland food or expensive takeout. One-pan dinners are the unsung heroes of the home kitchen. After testing countless honey garlic chicken recipes—some too sweet, others not sticky enough—this version hits the perfect balance. The secret lies in the ratio of honey to soy sauce and getting that initial sear just right. The sauce thickens into a glossy glaze that clings to every piece of chicken without becoming cloying.
You get a sticky, sweet, and spicy chicken dinner in 30 minutes flat, all made in one skillet.
Why You’ll Love This Recipe
- One pan, minimal mess — Sear, sauce, and serve from a single skillet
- 30 minutes start to finish — Faster than delivery
- Pantry-friendly ingredients — No obscure specialty items required
- Sweet heat balance — That crave-worthy combo of honey warmth and chili kick
- Family-approved — Kid-friendly heat level with options to crank it up
Ingredients
For the Chicken
- 1½ lbs (680g) boneless, skinless chicken thighs (or breasts)
- ½ teaspoon salt
- ¼ teaspoon black pepper
- 2 tablespoons cornstarch
- 2 tablespoons olive or vegetable oil
For the Sauce
- ⅓ cup (115g) honey
- ¼ cup (60ml) low-sodium soy sauce
- 4 cloves garlic, minced
- 1 tablespoon rice vinegar (or apple cider vinegar)
- 1–2 teaspoons sriracha or chili garlic sauce
- ½ teaspoon red pepper flakes (adjust to taste)
- 1 teaspoon fresh ginger, grated (optional but recommended)
For Garnish
- 2 green onions, sliced
- 1 tablespoon sesame seeds

Key Ingredient Notes
Chicken thighs deliver superior juiciness compared to breasts, thanks to higher fat content. They stay tender even if you cook them a minute too long. Breasts work too—just watch them closely so they don’t dry out.
Honey is the backbone of this dish. It caramelizes during cooking, creating that signature sticky glaze. Choose a mild honey so it doesn’t overpower the garlic and spice. Dark honey can dominate the flavor.
Soy sauce provides savory depth (umami). Low-sodium gives you more control over salt levels as the sauce reduces. Regular soy sauce works fine, but taste before adding extra salt.

Substitutions and Swaps
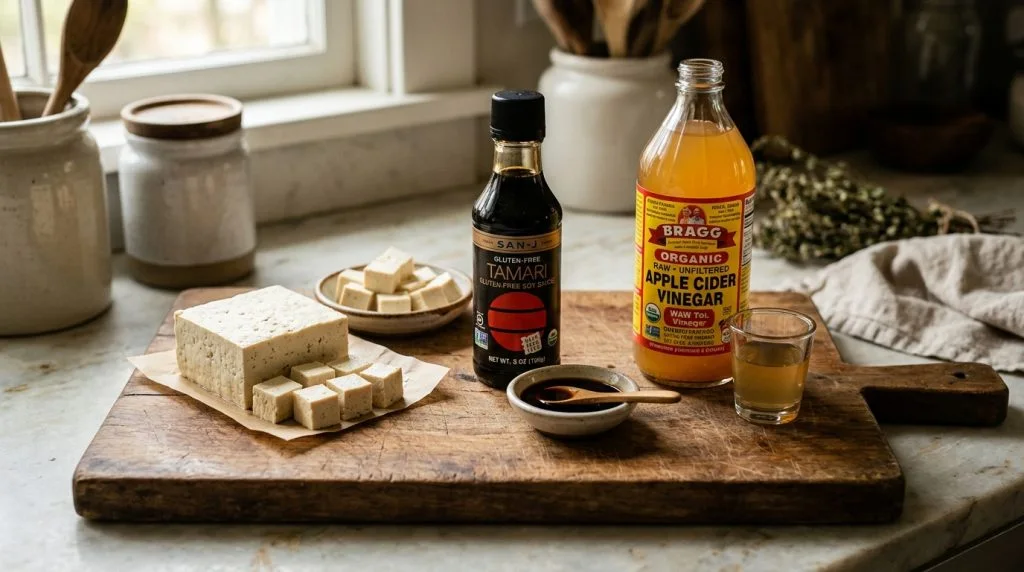
- Gluten-free: Use tamari or coconut aminos instead of soy sauce
- Low-carb/Keto: Swap honey for sugar-free honey substitute (reduce quantity by half—it’s sweeter)
- Vegan: Replace chicken with extra-firm tofu. Press and pan-sear first, then toss in sauce.
- No rice vinegar: Apple cider vinegar or fresh lime juice work well
- Heat level: Skip the sriracha and reduce red pepper flakes for mild. Add extra for “spicy”
Equipment Needed
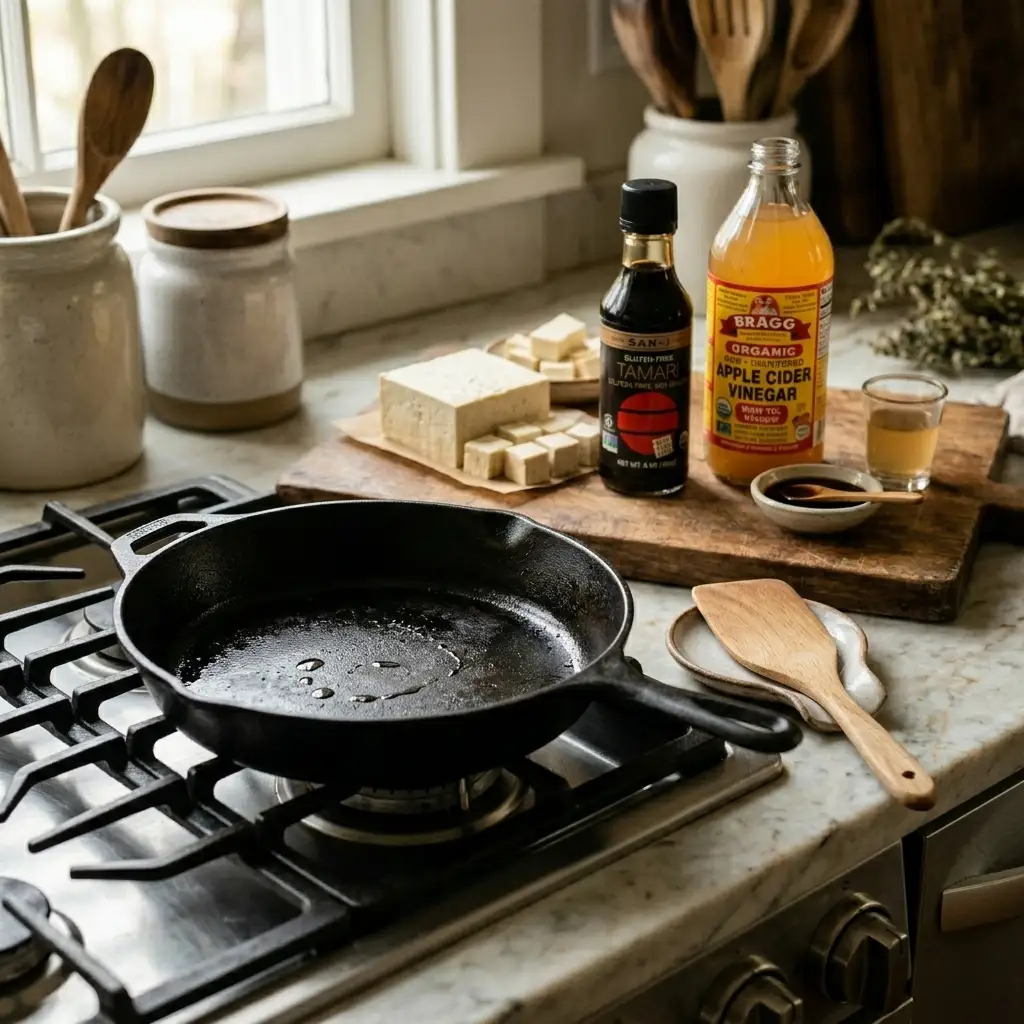
- Large skillet or frying pan (cast iron works beautifully)
- Mixing bowls (one for chicken coating, one for sauce)
- Whisk or fork
- Spatula or tongs
- Sharp knife and cutting board
Step-by-Step Instructions
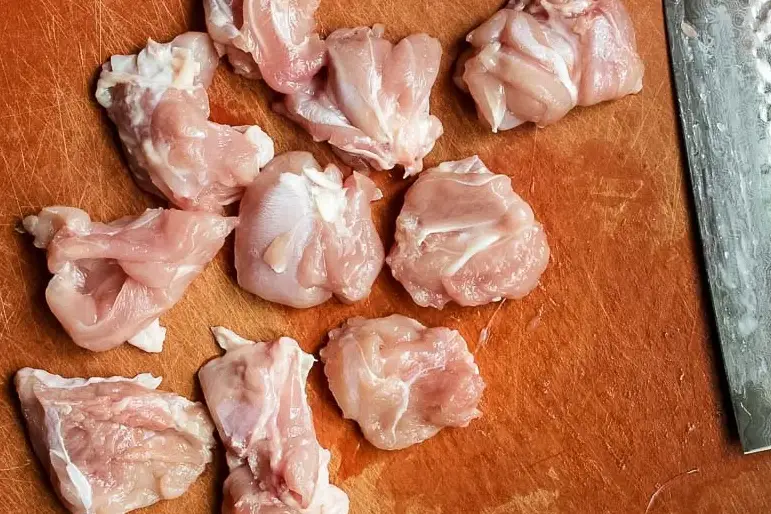
1. Prep the chicken
Pat chicken dry with paper towels. Season with salt and pepper, then toss with cornstarch until evenly coated. This step creates that golden, crispy exterior.
2. Sear the chicken
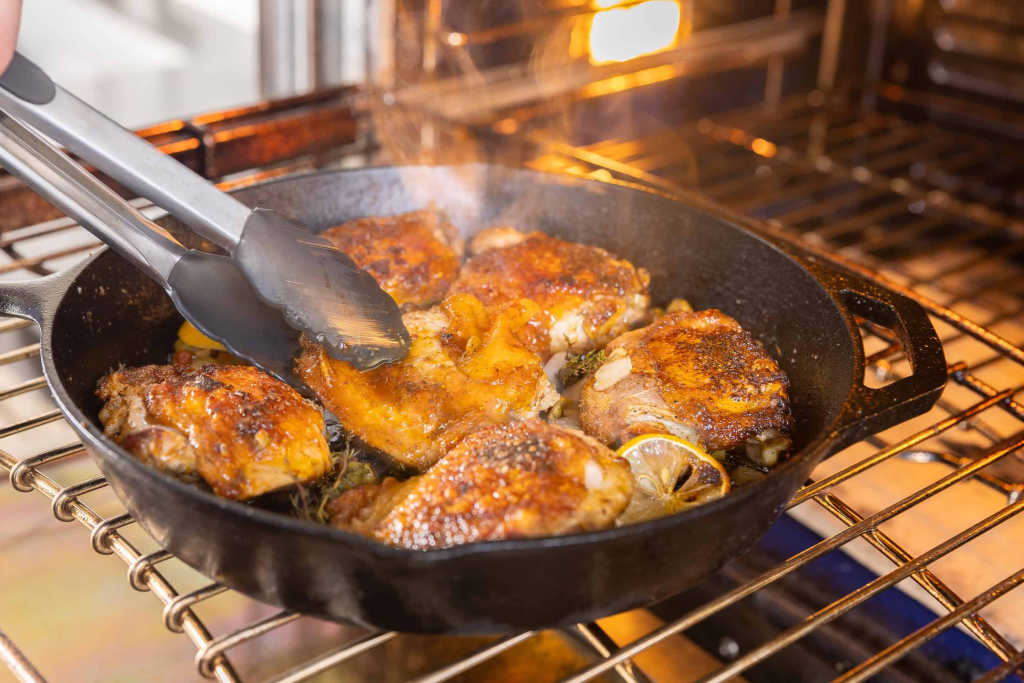
Heat oil in a large skillet over medium-high heat. Add chicken in a single layer (work in batches if needed). Cook 5–7 minutes per side until golden brown and cooked through. Remove to a plate. Don’t crowd the pan—steaming happens instead of searing.
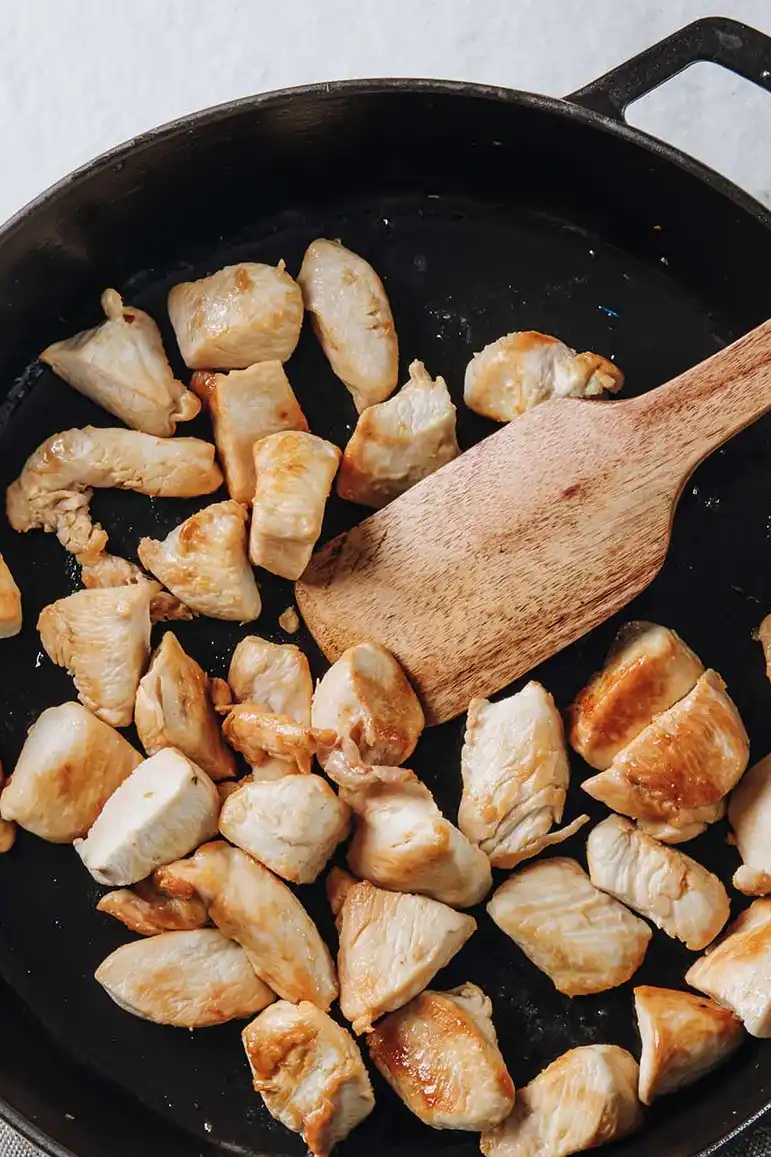
Doneness cue: The chicken should be deep golden brown with crispy edges. A meat thermometer should read 165°F (74°C) when inserted into the thickest piece.
3. Build the sauce
Reduce heat to medium. Add minced garlic to the pan and cook 30 seconds until fragrant. Whisk in honey, soy sauce, vinegar, sriracha, red pepper flakes, and ginger. Bring to a gentle simmer. The sauce will start bubbling and turning glossy.
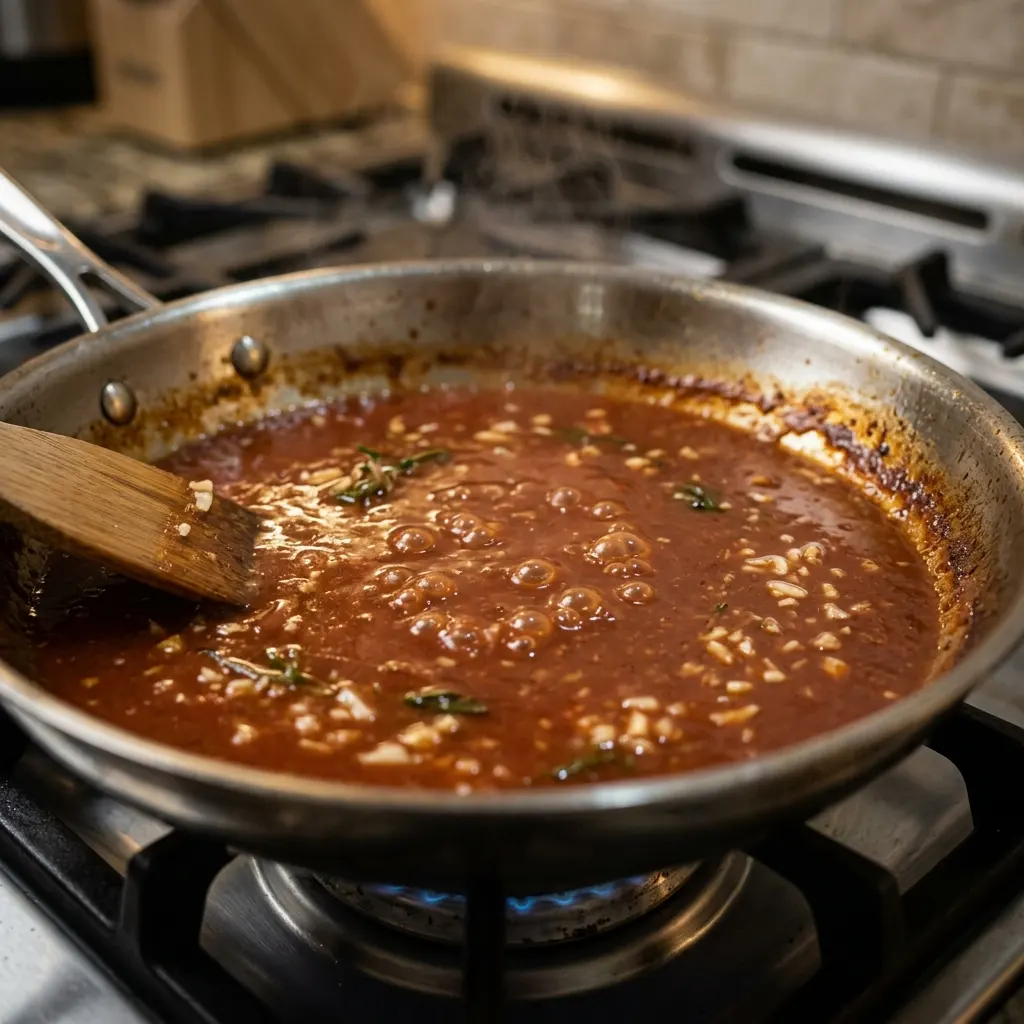
Doneness cue: The sauce should be bubbling gently and starting to darken around the edges. It will look thin at first—that’s normal.
4. Return chicken to pan
Add chicken back to the skillet, spooning sauce over each piece. Simmer 2–3 minutes, turning occasionally, until the sauce thickens to a sticky glaze that coats the chicken.
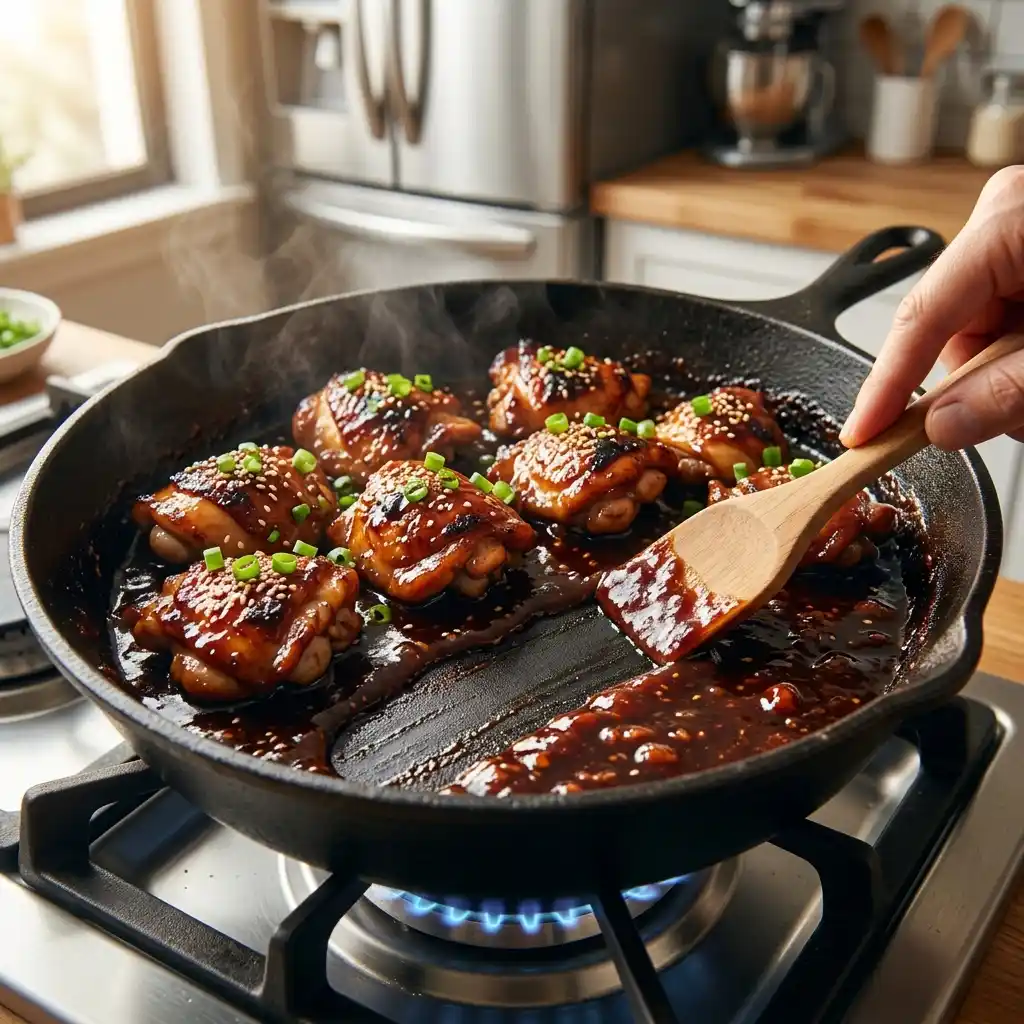
Doneness cue: The sauce should have a thick, syrup-like consistency that clings to the chicken rather than pooling in the pan. When you drag a spatula through the sauce, it should leave a clear path that slowly fills in.
5. Garnish and serve
Sprinkle with sliced green onions and sesame seeds. Serve immediately over steamed rice or noodles. The sauce will continue thickening as it cools, so serve right away for the perfect texture.
Expert Tips and Common Mistakes to Avoid
Pat chicken completely dry before seasoning. Excess moisture prevents proper browning, and the cornstarch coating won’t adhere well. Take an extra minute with paper towels—it makes a real difference.
Don’t walk away from the sauce. Honey-based sauces can burn quickly due to the sugar content. Keep the heat at medium and stir frequently. That golden brown glaze turns bitter black in seconds if you get distracted.
Adjust spice gradually. It’s easier to add heat than to remove it. Start with less sriracha and red pepper flakes, tasting as you go. You can always stir in more heat at the end.
Let the sauce thicken properly. Rushing this step results in a thin, watery sauce that won’t cling to the chicken. Wait for visible thickening before returning chicken to the pan. The reduction is what creates that sticky texture.
Rest the chicken for 2 minutes after cooking to allow juices to redistribute. This keeps the meat tender and moist instead of letting all those juices run out when you cut into it.
Variations
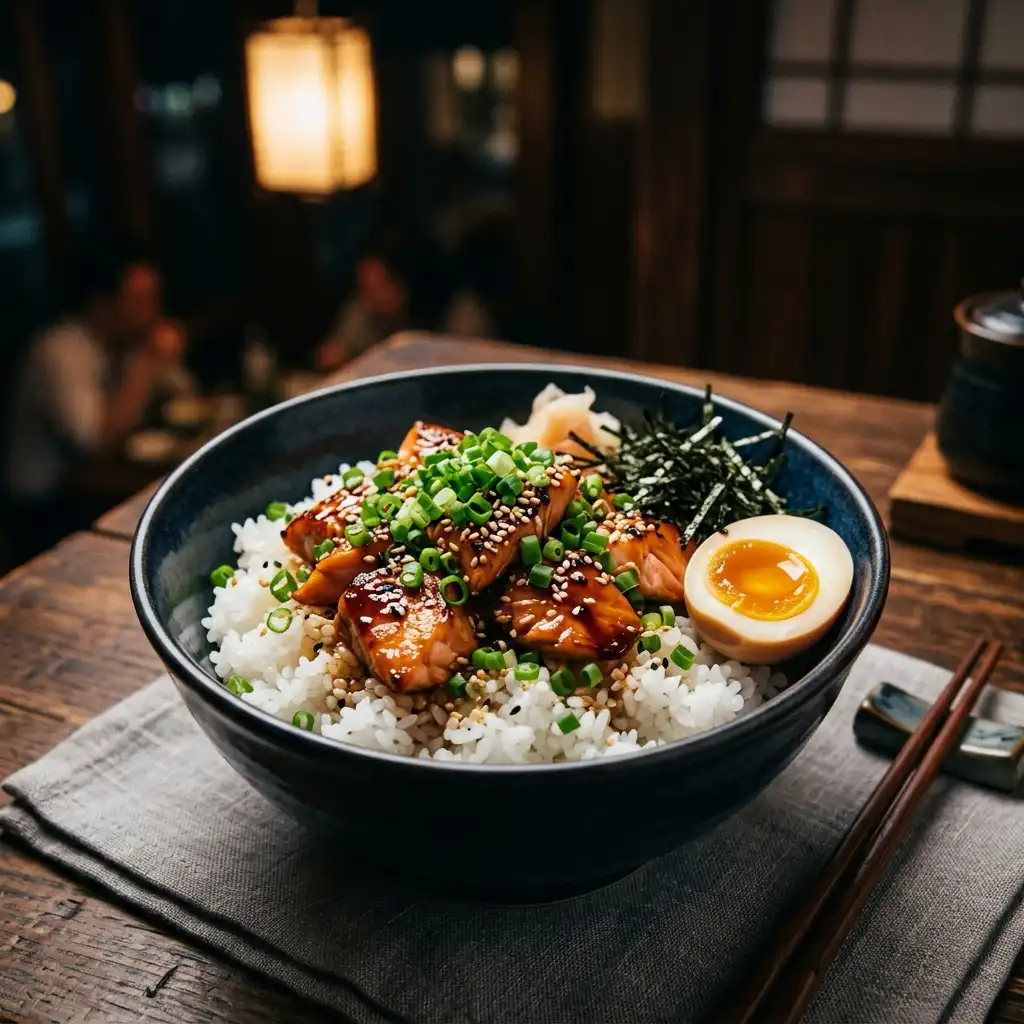
Protein swaps: Try this sauce with shrimp (cook 2–3 minutes per side), salmon, or cubed pork tenderloin. Adjust cooking times based on the protein.
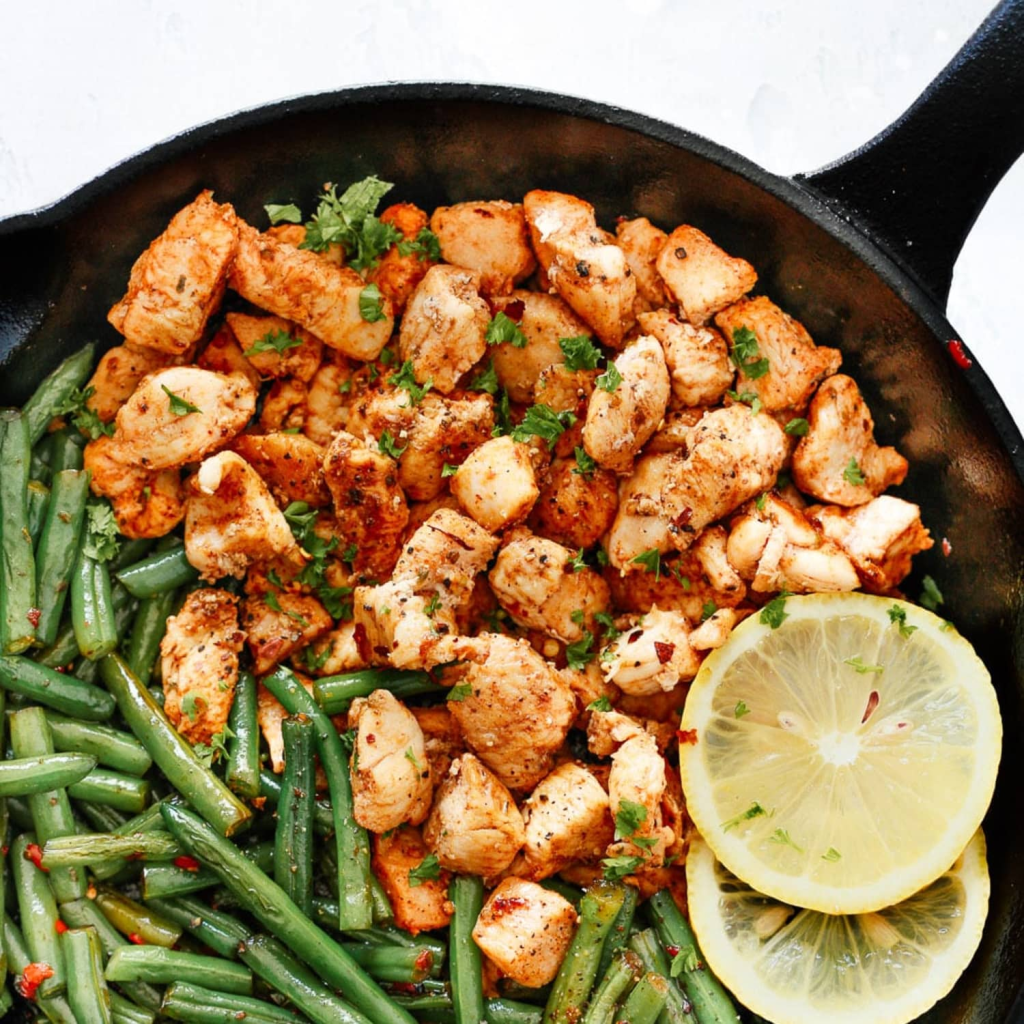
Add veggies: Toss in green beans, broccoli, or bell peppers during the last 5 minutes of cooking for a complete one-pan meal. The vegetables pick up the sauce beautifully.
Heat it up: Add an extra teaspoon of sambal oelek or fresh Thai chilies for serious spice. This is the version for people who want their nose to run.
Air fryer version: Cook coated chicken in an air fryer at 400°F for 10–12 minutes, then toss in the sauce. You get extra crispy edges this way.
Stir-fry style: Cut chicken into bite-sized pieces and stir-fry with vegetables for a 20-minute meal. Great for meal prep.
Storage, Reheating, Make-Ahead and Freezing
Storage: Keep leftovers in an airtight container in the refrigerator for up to 4 days. The sauce will set up a bit when cold, which is normal.
Reheating: Warm in a skillet over medium heat with a splash of water to loosen the sauce. The microwave works too, but the skillet yields better texture and revives the glaze.
Make-ahead: Prep chicken and mix sauce ingredients up to 24 hours ahead. Store separately in the fridge. This is great for busy weeknights.
Freezing: Freeze cooked chicken and sauce in a freezer-safe container for up to 3 months. Thaw overnight in the fridge before reheating. The texture holds up well.

Serving Suggestions and What to Pair With It
- Steamed jasmine or brown rice to soak up that glorious sauce
- Rice noodles or lo mein for a noodle bowl
- Cauliflower rice for a low-carb option
- Simple steamed broccoli or bok choy on the side
- A crisp cucumber salad for freshness against the sticky glaze

Frequently Asked Questions
Can I use chicken breasts instead of thighs?
Yes, but breasts cook faster and can dry out. Reduce cooking time to 4–5 minutes per side, and watch carefully. Thighs are more forgiving and flavorful.
How do I make this spicier?
Add extra sriracha, red pepper flakes, or chopped fresh chili. Start conservatively and taste—you can always add more. Remember that heat intensifies as the sauce reduces.
Why isn’t my sauce thickening?
The sauce needs to simmer for a few minutes to reduce and thicken. If it’s still thin, increase heat slightly and let it bubble for another minute. A cornstarch slurry (1 tsp cornstarch + 1 tbsp water) can help speed things up.
Can I make this ahead of time?
Yes, but the sauce may lose some of its glossy sheen. Reheat gently with a splash of water or broth to bring it back to life. The flavor stays great.
Is this recipe gluten-free?
Use tamari or coconut aminos instead of soy sauce. Check that your sriracha and other condiments are gluten-free. Many brands are, but always read the label.
How long does it take to cook chicken thighs?
Boneless, skinless thighs take about 5–7 minutes per side over medium-high heat. Always check the internal temperature reaches 165°F (74°C) for safety. Thighs are more forgiving than breasts, so they stay juicy even if you go a minute over.
Recipe Card
Title: Spicy Honey Garlic Chicken
Short Description: Juicy chicken coated in a sweet, spicy, sticky glaze—all made in one pan in just 30 minutes. Perfect for busy weeknights.
Prep Time: 10 minutes
Cook Time: 20 minutes
Total Time: 30 minutes
Servings: 4 servings
Ingredients:
- 1½ lbs (680g) boneless, skinless chicken thighs
- ½ tsp salt
- ¼ tsp black pepper
- 2 tbsp cornstarch
- 2 tbsp olive oil
- ⅓ cup (115g) honey
- ¼ cup (60ml) low-sodium soy sauce
- 4 cloves garlic, minced
- 1 tbsp rice vinegar
- 1–2 tsp sriracha
- ½ tsp red pepper flakes
- 1 tsp grated fresh ginger (optional)
- Green onions and sesame seeds for garnish
Instructions:
- Pat chicken dry. Season with salt and pepper, coat with cornstarch.
- Heat oil in skillet over medium-high. Sear chicken 5–7 min per side until golden. Remove to plate.
- Reduce heat. Cook garlic 30 sec. Add honey, soy, vinegar, sriracha, pepper flakes, and ginger. Simmer until thickened.
- Return chicken to pan, coat in sauce. Cook 2–3 min until sticky and glossy.
- Garnish and serve over rice.
Nutrition Estimate (per serving): 430 kcal | Protein: 42g | Carbs: 24g | Fat: 16g | Sodium: 720mg
Recipe Notes: Chicken thighs recommended for best juiciness. Adjust spice to taste. Sauce will thicken as it cools.
This Spicy Honey Garlic Chicken delivers everything you want in a weeknight dinner—quick cooking, big flavor, and minimal cleanup. The sweet heat from honey and chili, the savory depth of soy and garlic, and that irresistible sticky glaze all come together in a single skillet.
Skip the takeout menu tonight. This recipe is faster, healthier, and honestly—more delicious. Whether you serve it over rice, noodles, or veggies, it’s guaranteed to earn a spot in your regular rotation.
Give it a try, and don’t forget to rate the recipe below or pin it for later. And if you’re craving more one-pan wonders, check out the variations section—this sauce works magic on shrimp, salmon, and even tofu!